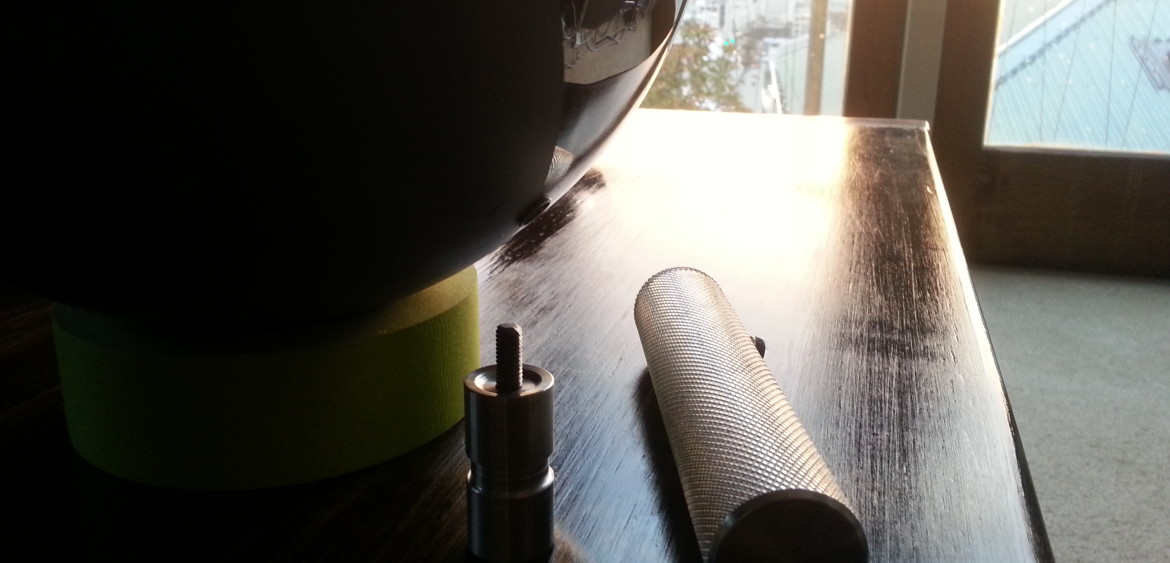
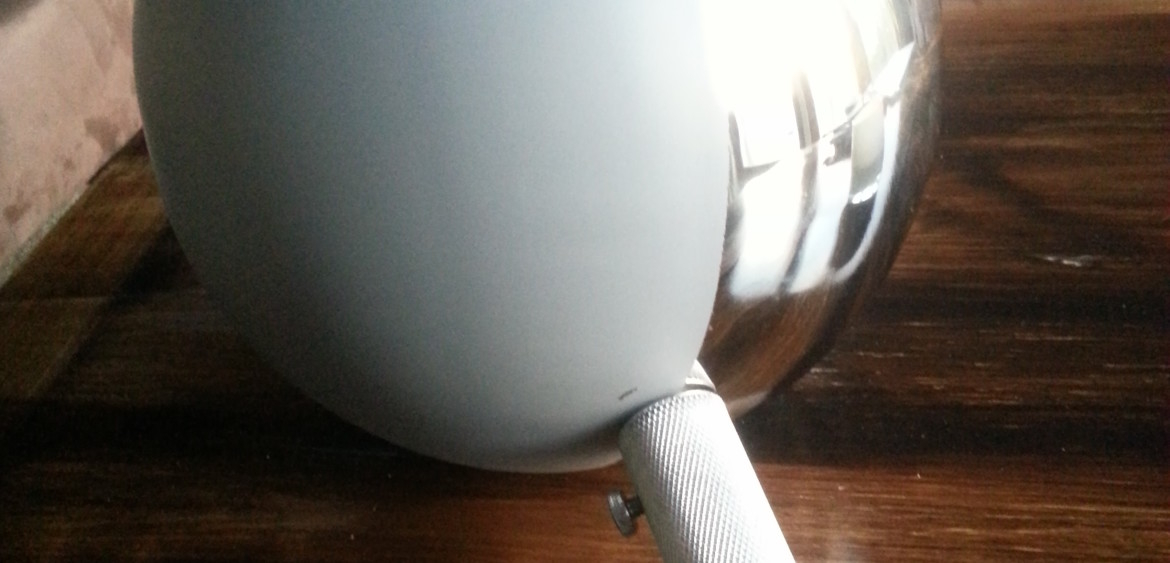
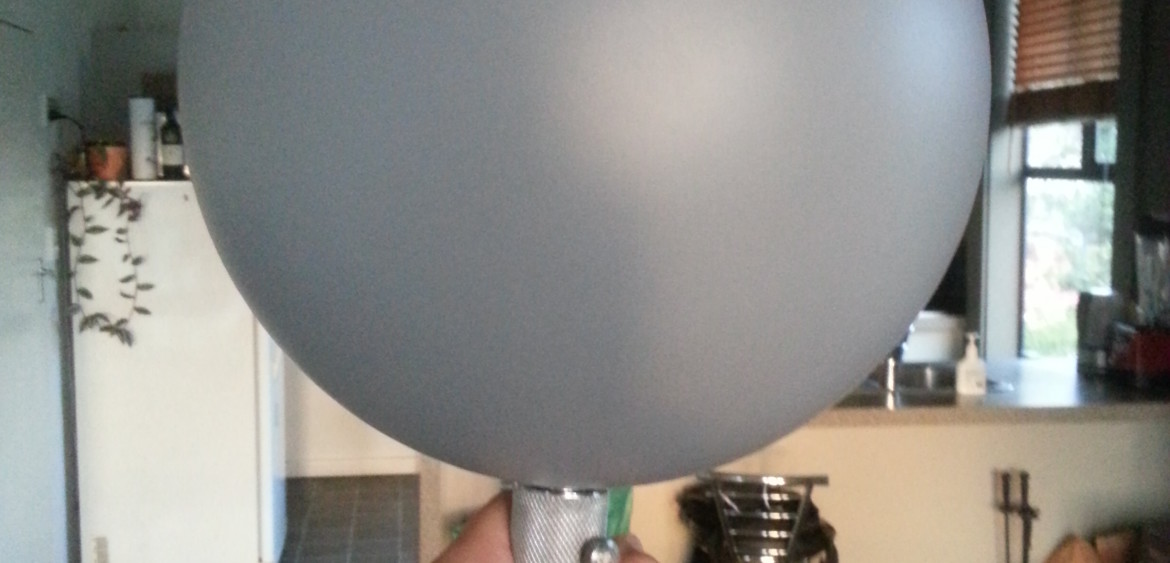
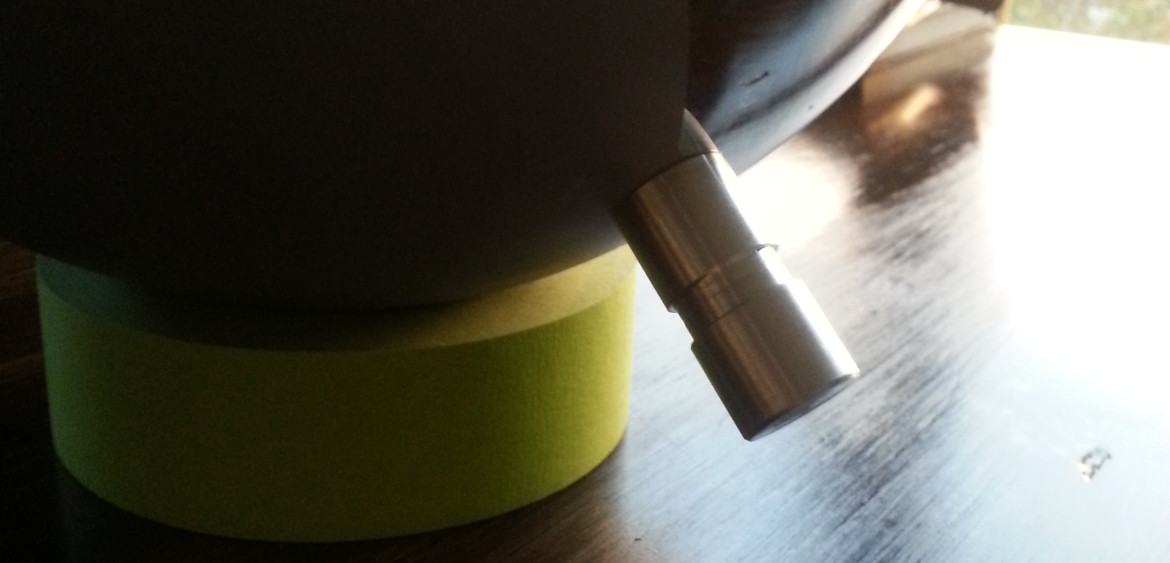
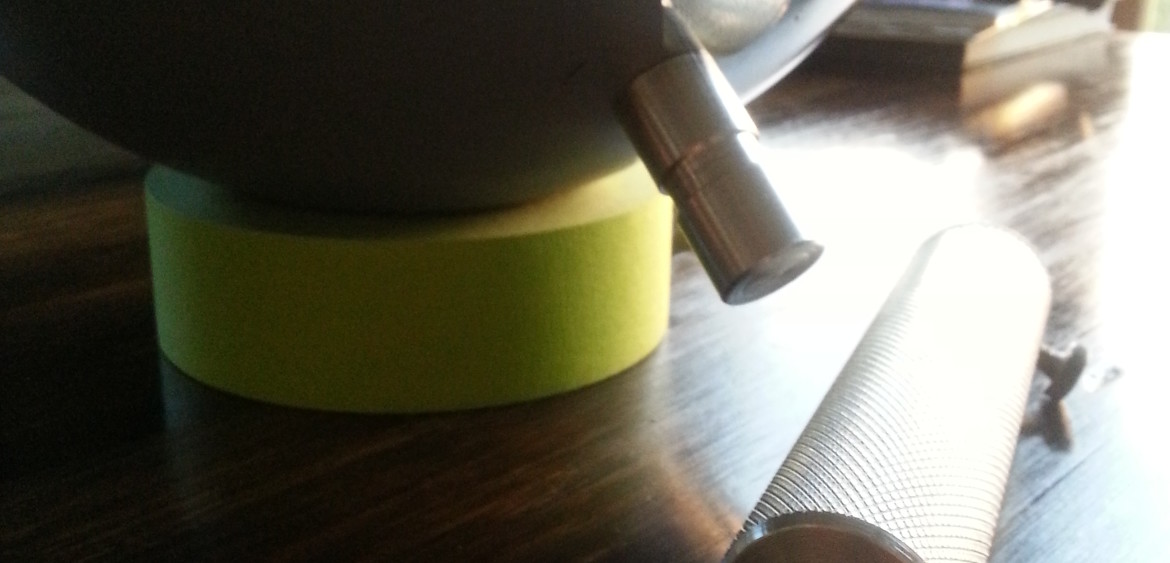
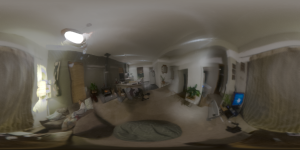
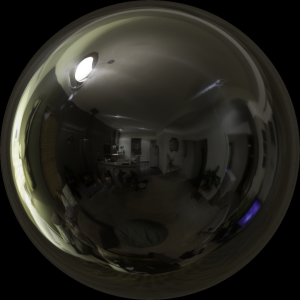
Here’s my new light probe for on set light ref. I ordered a 10″ gazing globe from Amazon. With shipping, the cost was about $80NZD. I went down to a place in town called Metalworx to have the ball drilled and threaded. Everything was custom milled. I had them make a removable dowel as well. A custom spud handle locks onto the dowel with a screw and can easily be removed and clamped onto a c-stand or a tripod or inserted into a long piece of pipe. This custom milling cost around $230NZD but is well worth it.
This seemed to be the most robust way to shoot light probes on set. You can have someone stand behind the ball and shoot your brackets, rotate 90 degrees and bracket again. If you have more time, then obviously you can set up a c-stand and shoot your 10-12 exposures for a complete and ideal HDR light probe.
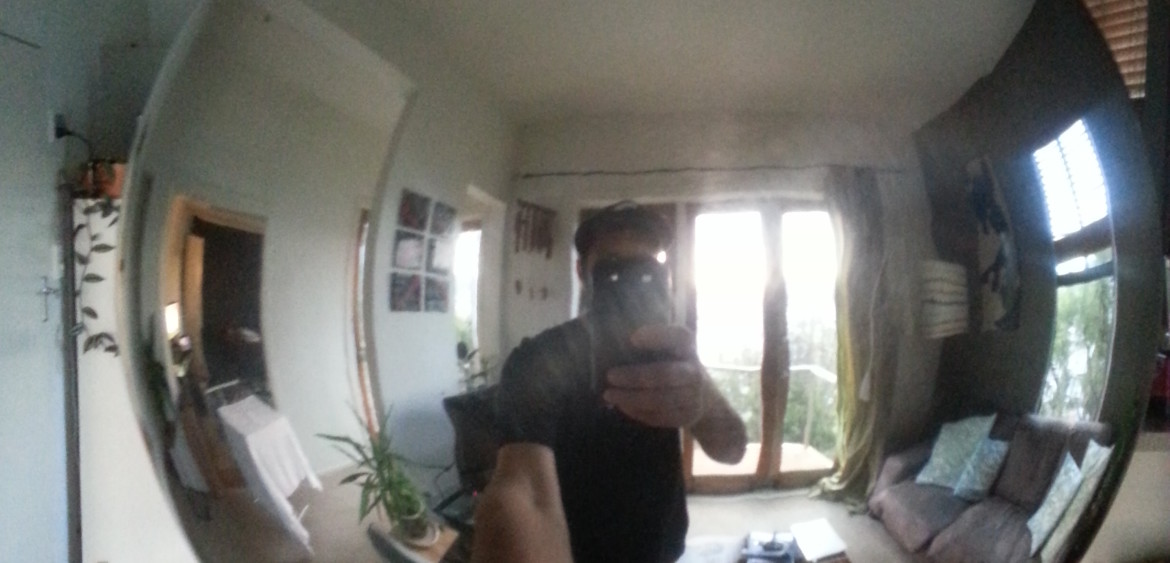
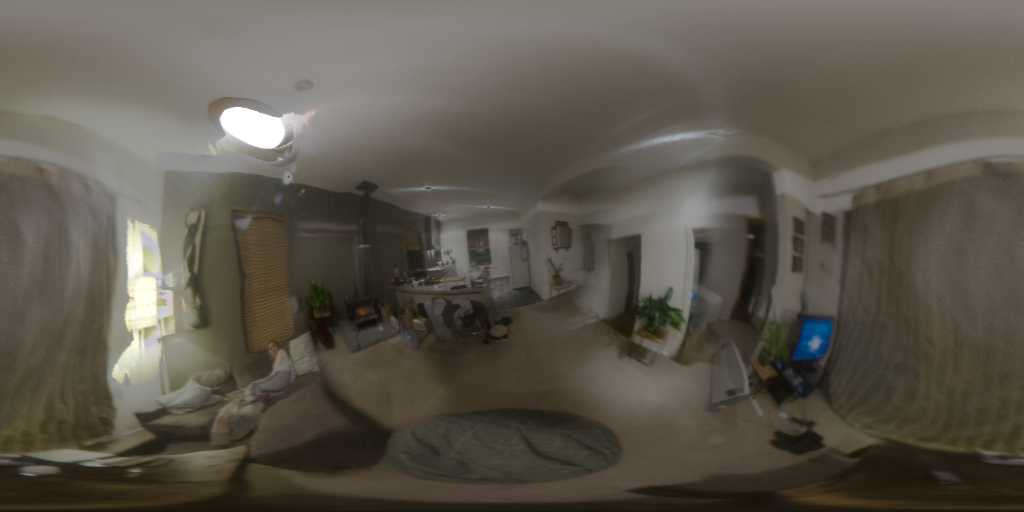
Optically, the 10″ ball isn’t the greatest. There are some bumps on the surface and the weld between the 2 hemispheres is visible, but through the camera is on the edge of the ball. I snapped a few photos of it and the results are decent. If I were to use the light gen plugin or the Tippet light rig setup, this would be perfect.
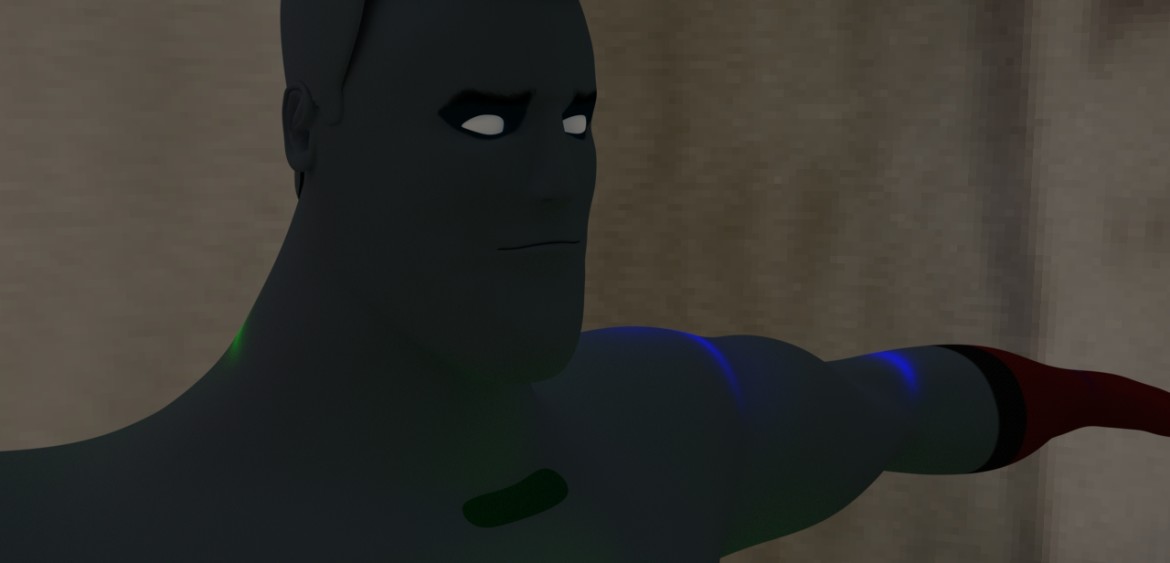
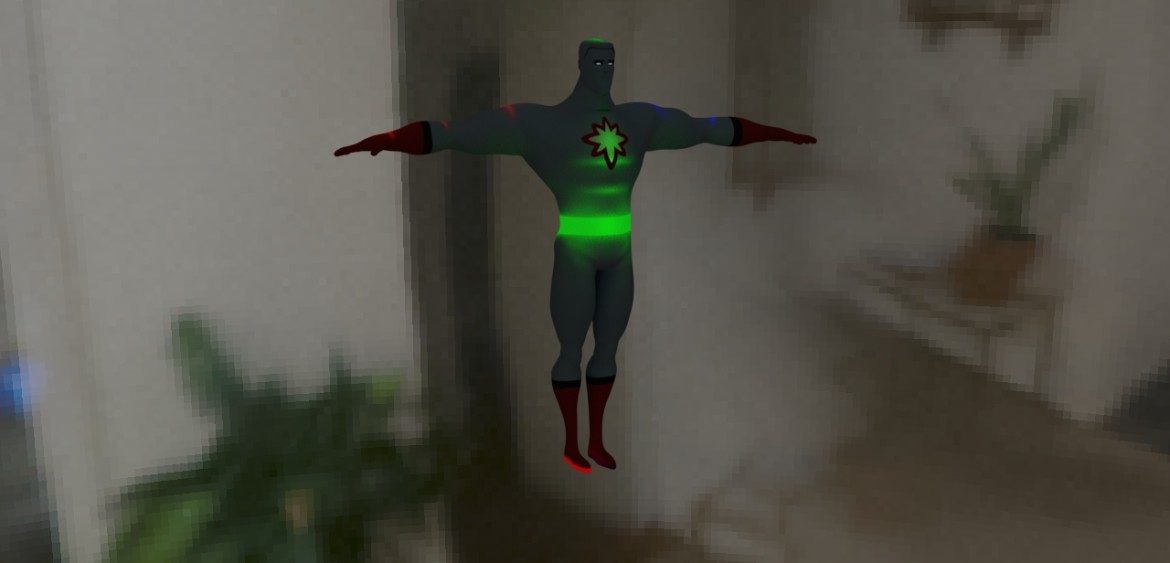
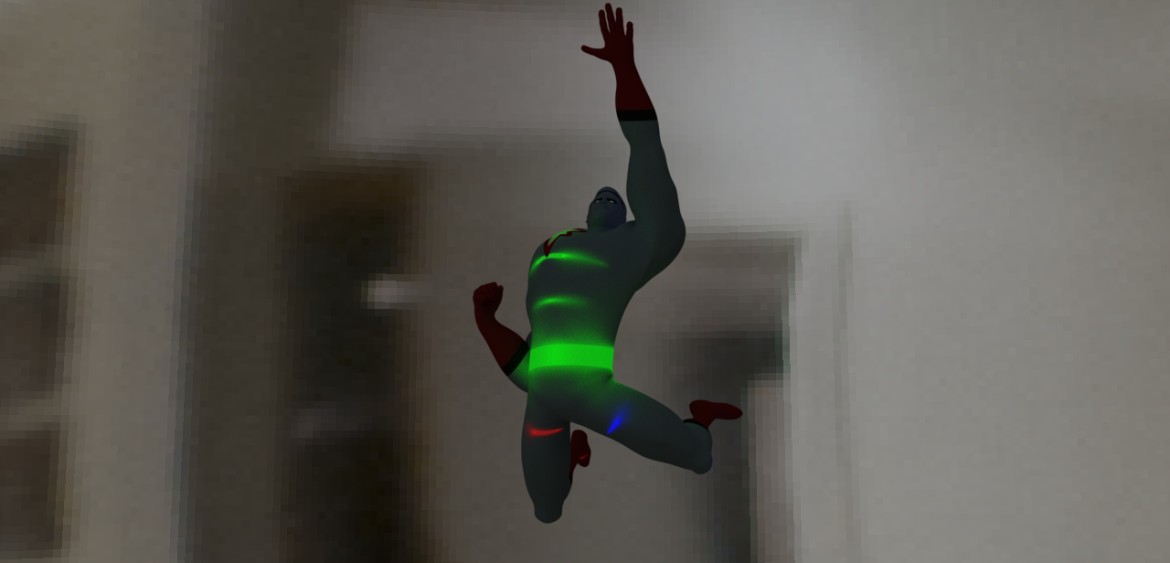
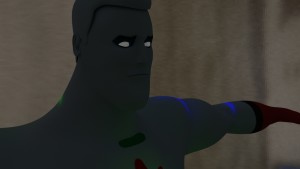
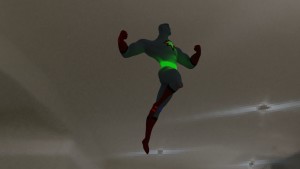
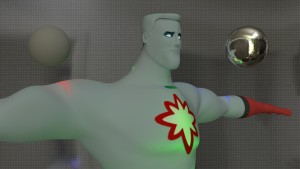
Using 3Delight and the above image as the IBL node along with a free Captain Atom rig from CreativeCrash, I did some tests:
Not too bad – I didn’t use an HDR to adjust exposure, just this tiff, so it may seem a little dark. Overall I think the 10″ ball will suffice. My next side project will be a music video for a local NZ band. We shoot next month, so this will be put to the test 😉
**Update**
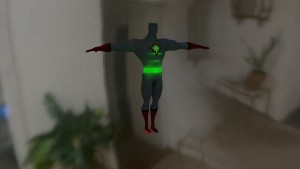
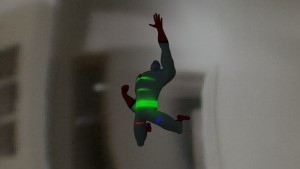
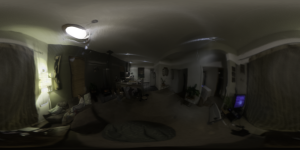
I reprocessed the light probe the proper way and got some better results. This is a full 32bit HDR converted to a png for posting purposes:
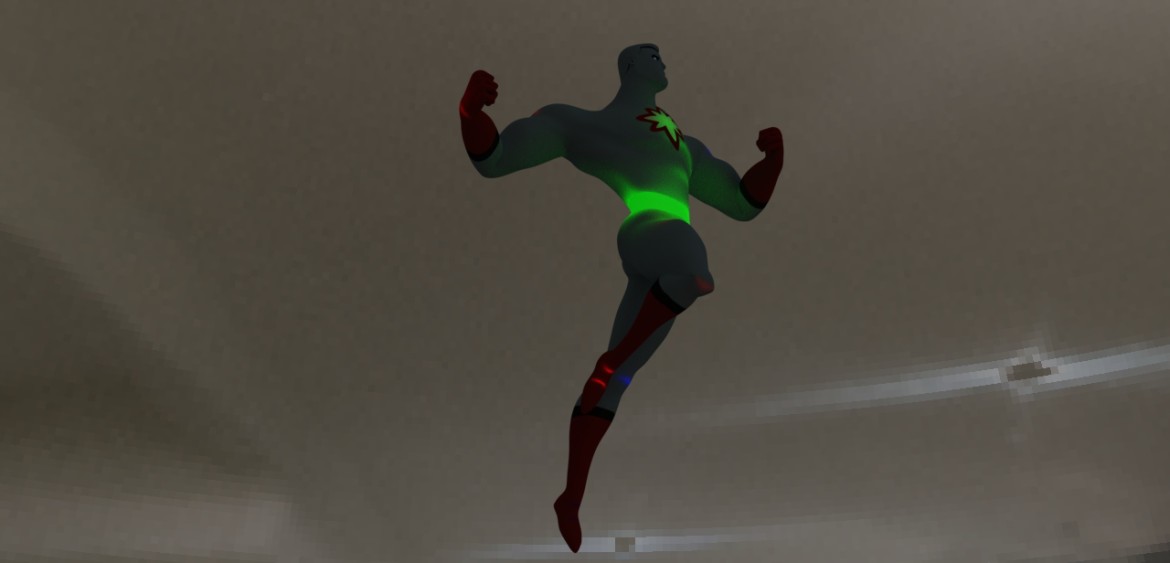
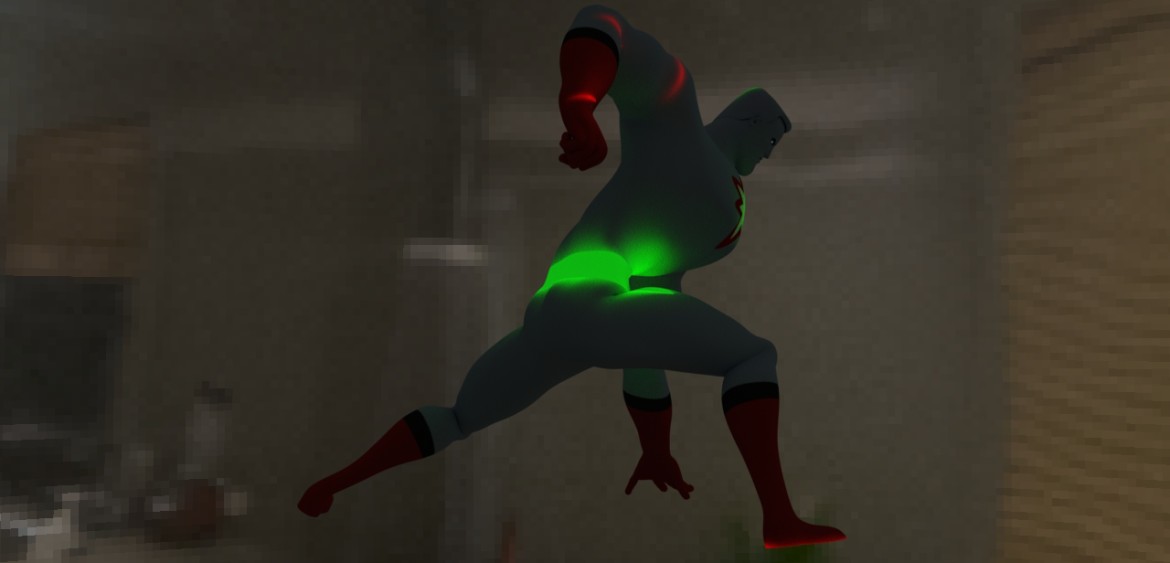
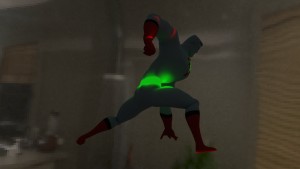
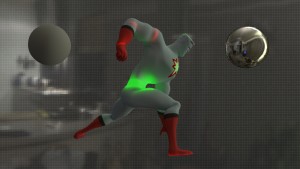
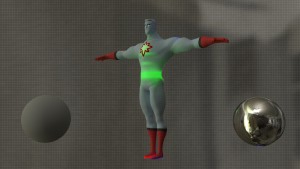
And a couple renders:
Much better being able to control exposure. Render time was about a minute each frame. Click the images to see the 720p res.
