Once I had Mugs’ design finalized, he was ready to model in Maya. Using image planes for my model reference, I was able to shape my character to look exactly like my design. I started with a low poly version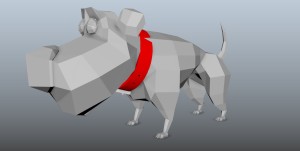 , and used this as my base for everything. At this stage if was easiest to lay out the UV’s.
  I’m not using ptex just yet as some applications I may be using are not ptex friendly. I do love the idea of not having to fuss with UV’s but I’m a bit old school in that area at the moment. I added a collar with a buckle, similar to the one my dog had. After some tweaks and a smoothing pass, Mugs was ready to go into Mudbox for some sculpting.
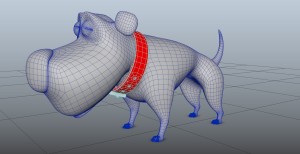
In Mudbox, I tried my best to sculpt out muscle groups and shapes according to canine anatomy. Since Mugs is heavily characterized, and I still want him to be cartoony, this was a delicate exercise. At the end I felt I had accomplished a nice balance of believable muscles, but still feeling toon like. I also painted some color as his base texture in Mudbox. 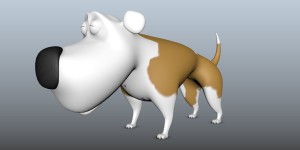
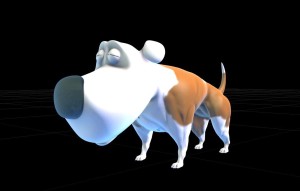 Exporting maps from Mudbox has always been finicky, and using UV sets for the 1st time made it even more of a crabby procedure, but the AO, cavity, normal and displacement maps exported fine in the end, and with some Mental Ray tweaking in Maya, everything worked out. Yes I’m still a MR guy – as I previously stated I’m old school. Vray didn’t seem to play nice with UV sets for the time being, so that was a big factor for me to stick with MR. If anyone has a work around or method using UVsets in Vray by all means I’m open to it, but there was little documentation I could find on the subject.
Next step: rigging in Maya.
Sorry, the comment form is closed at this time.